
Using the Gmail App
Most Android phones come with the Gmail app pre-installed, and the good news is — you can use it to check your non-Gmail (custom domain) email accounts too!
Here’s how to add your IMAP email account to the Gmail app in just a few minutes.
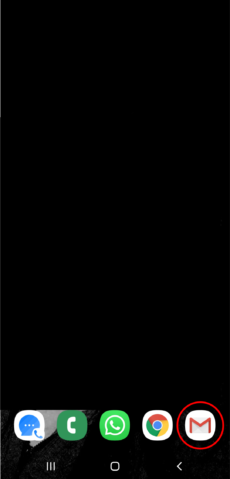
Step 1: Open the Gmail App
On your Android device, locate and open the Gmail app.
It may already be set up with a Gmail address, but you can easily add more accounts.
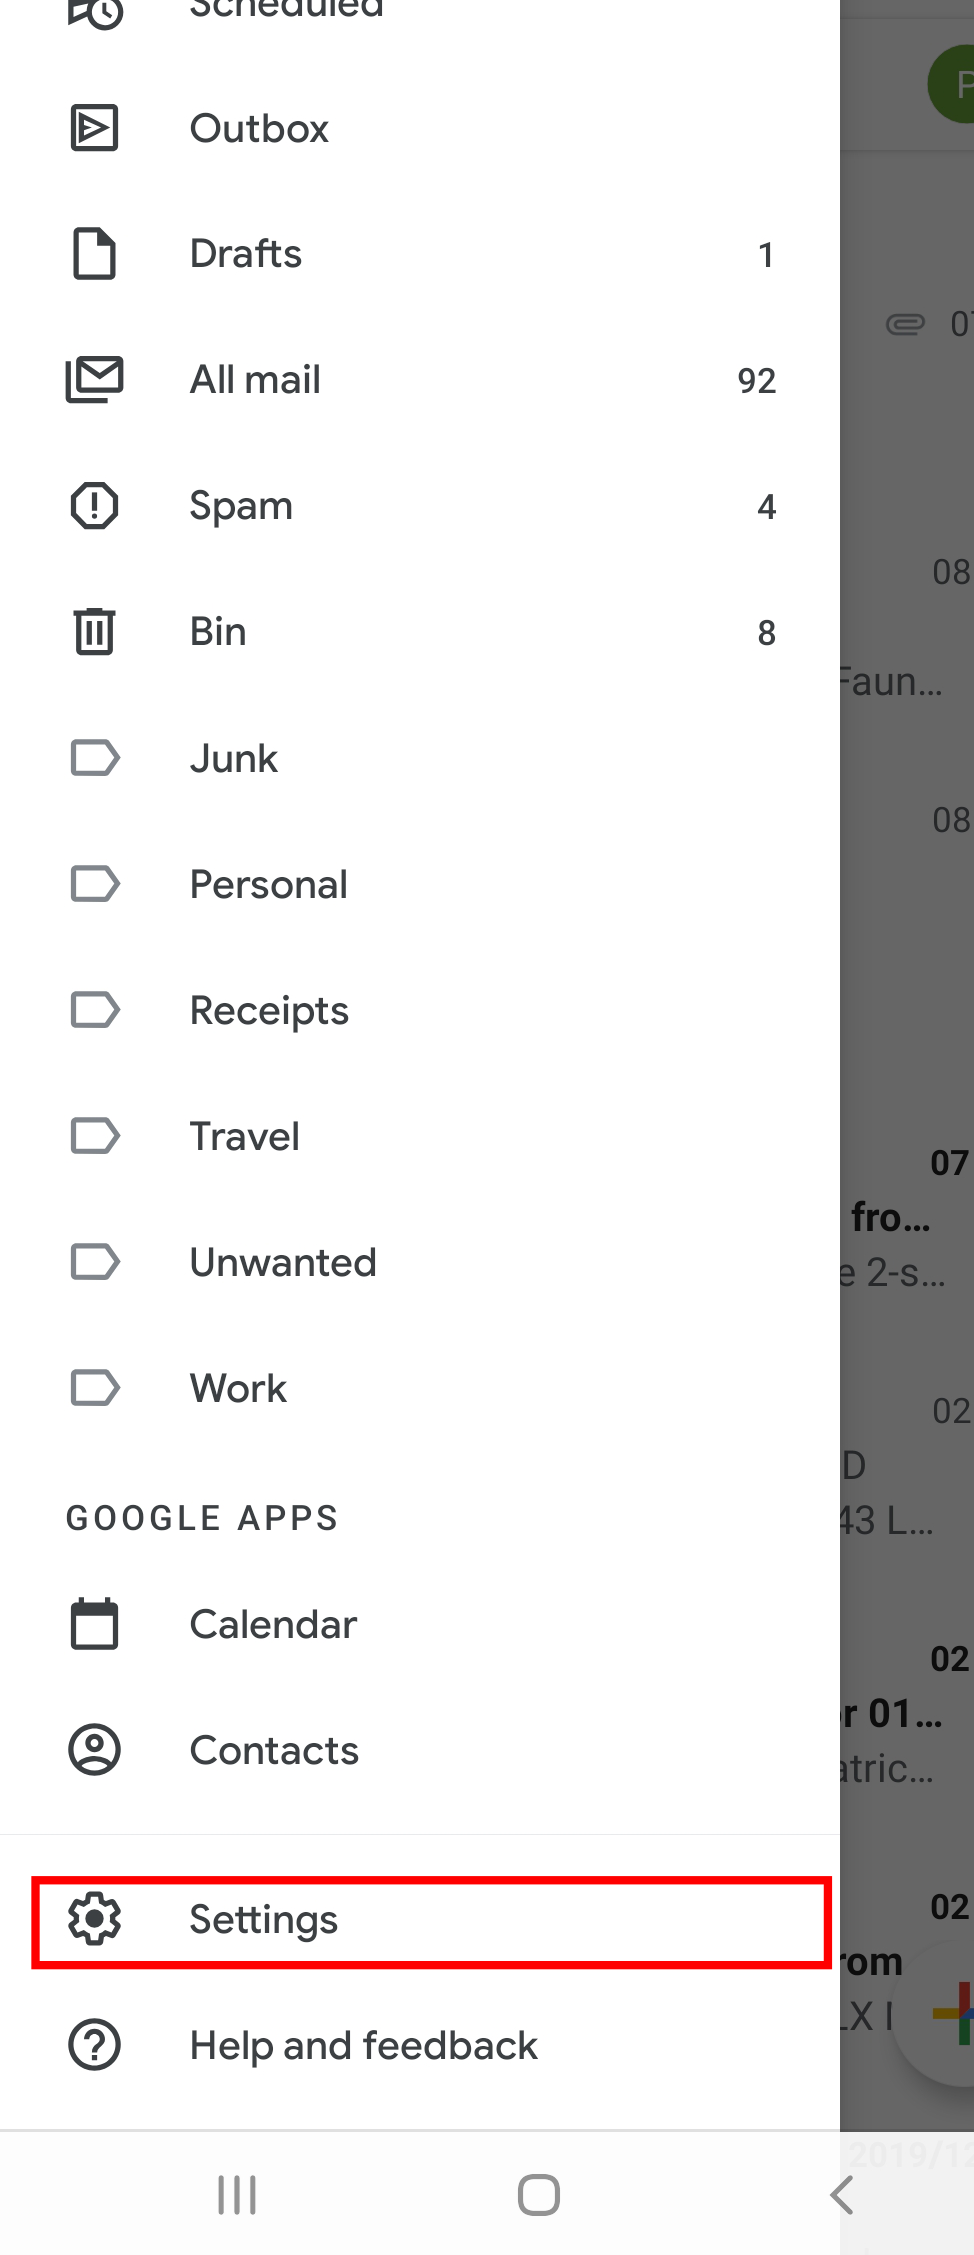
Step 2: Open Settings
Tap the three lines (☰) in the top-left corner of the Gmail app to open the sidebar menu.
Scroll down and tap Settings at the bottom.
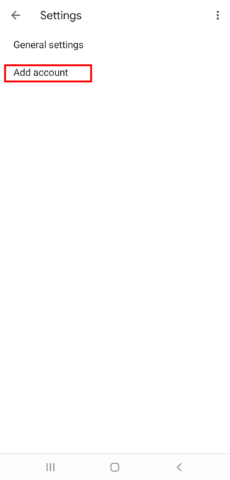
Step 3: Tap Add Account
Under Settings, tap “Add account” to begin setting up your custom email address.
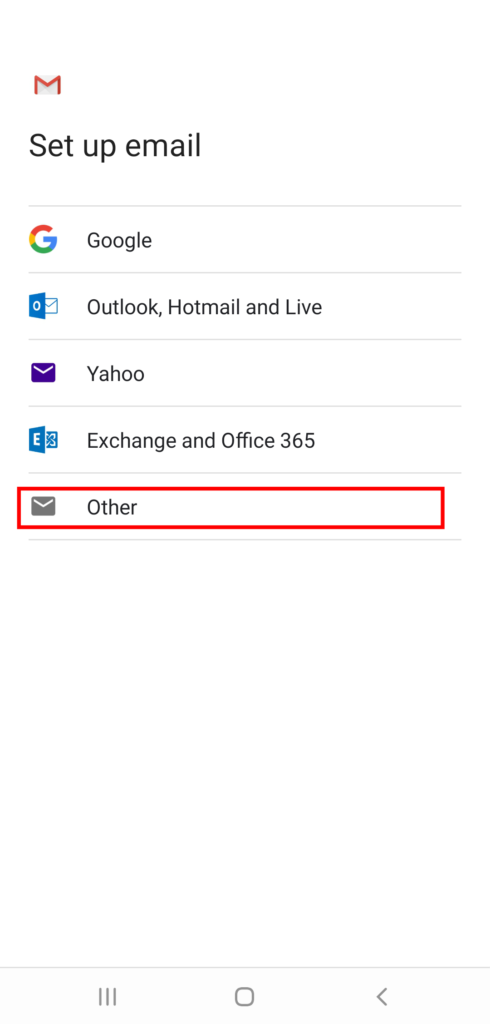
Step 4: Choose Other
You’ll see options like Google, Outlook, Yahoo, etc.
Select Other.
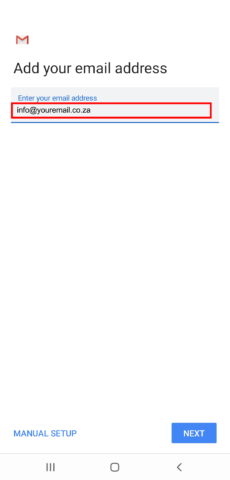
Step 5: Enter Your Email Address
Type your full email address (e.g., you@yourdomain.co.za) and tap Next.
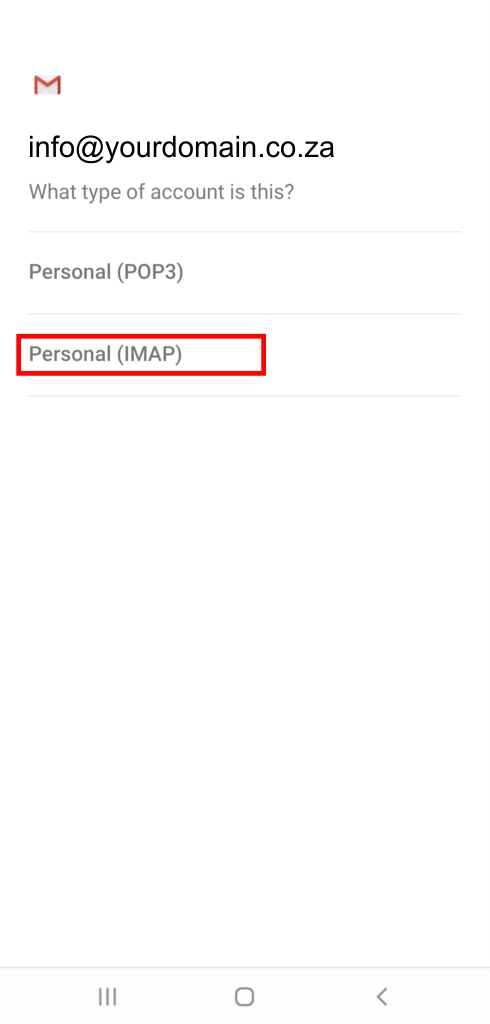
Step 6: Select Account Type → Choose IMAP
Select IMAP as your account type when prompted.
🛑 Click here for differences between IMAP and POP3.
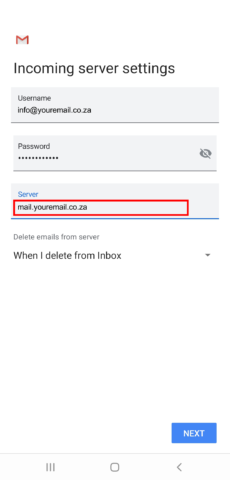
Step 7: Enter Incoming Server Settings
You’ll now configure your incoming (IMAP) server:
- Password: Your email password
- Server: e.g.,
mail.yourdomain.co.za - Port: 993
- Security type: SSL/TLS
Tap Next.
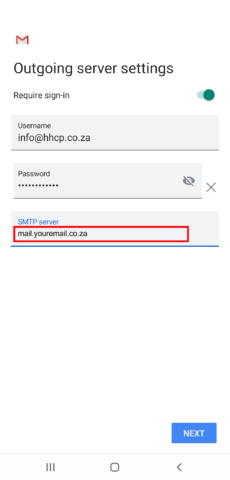
Step 8: Enter Outgoing Server Settings
Now configure your outgoing (SMTP) server:
- SMTP Server: e.g.,
mail.yourdomain.co.za - Port: 465
- Security type: SSL/TLS
- Username: Your full email address
- Password: Your email password
Tap Next.
Step 9: Set Sync Options
Choose how often the app should check for new emails (e.g., every 15 minutes) and whether to receive notifications.
Check the box for “Sync email for this account” to ensure syncing is enabled.
Tap Next.

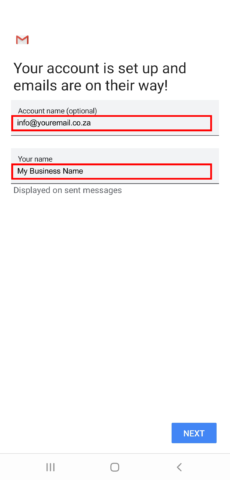
Step 10: Give Your Account a Name
You can enter a name for the account (e.g., “Work Email”) and the name that should appear on outgoing messages.
Tap Next to complete the setup.
Done!
Your IMAP email account is now set up in the Gmail app!
You can send, receive, and sync emails just like you would with Gmail — and access them across all your devices.
Pro Tips
- Make sure you have an active internet connection during setup
- Double-check spelling of mail servers (they’re case-sensitive!)
Frequently Asked Questions
Have questions of your own? Contact us


