How to create Your First Post in WordPress
Starting a website is exciting — and with WordPress, it’s easier than ever to create content, build your brand, or start your blog. If you’ve just installed WordPress and want to publish your very first post, this guide is for you.
Index
Your first post in WordPress
New Post in WordPress Video
Frequently Asked Questions
Pro Tips
Useful Links
Your First Post in WordPress
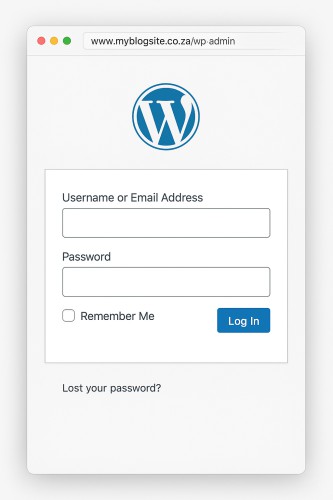
Step 1: Log Into Your WordPress Dashboard
Once WordPress is installed, log into WordPress.
Enter your username and password (set during installation).
Step 2: Access the Posts Section
In the WordPress dashboard, look on the left menu.
Click on “Posts” → Then click “Add Post”
This opens the WordPress post editor, where the magic happens.

Step 3: Add a Title and Start Writing
At the top, type your post’s title — this becomes the headline your visitors see.
Then start writing your content in the big white editor space below.
You can:
Add images
Type text directly
Insert headings, bullet points, and more

💡 Use the + button on the left of each new line to add blocks like images, quotes, or videos.
Step 4: Add a Featured Image
A featured image appears at the top of your post and often shows on your homepage or blog grid.
On the right-hand side of the screen, look for “Featured Image”
Click “Set featured image”, upload or select a photo, and click Set.

Step 5: Choose a Category
Still on the right-hand sidebar, assign your post to a category (e.g., “News”, “Blog”, “Tips”).
This helps organize your content for readers and SEO.

Step 6: Hit “Publish”
Once you’re happy with your post:
- Click Preview to see how it looks
- Then click the blue “Publish” button — and again to confirm
Your first WordPress post is live!

Add New Post Video
Frequently Asked Questions
Have Questions of your own? Contact us
💡 Pro Tips
Keep Page Name short
20 words max per sentence
300 words max per paragraph
Add Images reflecting the post
Link to your other posts


